
How to setup a load test via Locust
Walkthrough of how we can use Locust to set up a simple test for a mocked API
Hello there,
Recently at my workplace, we had to ship the rewrite of an API from Ruby on rails to Go. This was a critical API for the business and we wanted to see how it held up under simulated load. The functional API tests were already automated and working fine and this was the missing link for us to gain confidence in our changes before diverting traffic to it.
We needed something in place quickly without too much setup time, one consideration was to even keep the functional tests running in a loop though it was a no brainer that it would not be even remotely close to a live test.
I am typically a big fan of not reinventing the wheel and decided to explore tools and libraries already available for this problem space. There is no shortage of proprietary load testing tools available and quite some prominent OSS ones were: Apache Jmeter, Gatling, Vegeta, and many others.
All of them have their own unique selling points and limitations though trying out each to see which works best would have taken a lot of time. Plus there was even the larger language barrier of learning Go (Vegeta) or Scala (Gatling) in order to wire up something quickly.
Apache Jmeter is heralded as the most obvious choice while setting up load tests though I wanted something which could express these tests well enough in code and not be bothered with learning a tools UI to setup.
So which one did I decide to go with?
It’s no secret that I am an ardent fan of Python language and so while researching on this topic when I came across Locust, I was already well motivated to try it out. While visiting the locust website, I could see it being highly praised by amazing leaders in the python community and since language was not a barrier, I was confident that this was something I could easily work with.

Setting up a simple mocked API via mock server
For this post, we would work with a simple mocked API since testing a live API has its own set of rate-limiting constraints.
Let’s see if we can set up a simple mock server to return us an expected response which we could use demo how to create a perf test with locust.
We could have used any of the available mock server libraries but I will be using Mock server by James D Bloom which is quite easy to set up and work with any of the available JVM language or JS.
Mock server library is quite customizable and offers a variety of usage patterns however we would go for starting a standalone mock server via command line and then set up a simple expectation of basic mock response.
- Ensure you have java installed on your machine by running
java -version - Download mockserver-netty-5.6.1-jar-with-dependencies.jar
- Run the mock server on localhost with port 1080 by running below command in terminal
java -jar /path/to/mockserver-netty-5.6.1-jar-with-dependencies.jar -serverPort 1080 -logLevel INFO
You should see a message like this on the terminal:
2019-07-28 21:53:15,610 INFO o.m.m.HttpStateHandler started on port: 1080
Cool. So we have a local mock server running. To verify if it is indeed working you can run a simple cURL command and see a blank response
curl -X GET 'http://localhost:1080/'
So, now, Lets set up a simple expectation on this mock server. We can do this in a variety of different ways. Either using JSON, or Rest API or clients (Java/JS)
Since code is easily the most simple way to set this up, Let’s go ahead with that.
Using any Java project setup with a maven or Gradle setup, we need to include below dependencies:
We can add below in the dependencies section of the build.gradle file.
compile group: 'org.mock-server', name: 'mockserver-client-java', version: '5.6.1'

implementation 'org.mock-server:mockserver-netty:5.6.1'
Let’s create a simple MockServer.kt file with the code to set this up:
With this code, we are essentially registering an expectation with the mock server that if you get
any request with /users in the request URL, then respond with a 200 status code and a dummy JSON
response read from users.json file.
This sample response is taken from JSON placeholder site
Let’s run this file either via IntelliJ or via command line. You should see output like below on the same terminal where mock server is running which tells that our expectation has been registered successfully.
2019-07-28 21:53:32,880 INFO o.m.m.HttpStateHandler creating expectation:

        {
          "httpRequest" : {
            "method" : "GET",
            "path" : "/users"
          },
          "times" : {
            "unlimited" : true
          },
          "timeToLive" : {
            "unlimited" : true
          },
          "httpResponse" : {
            "statusCode" : 200,
            "body" : "[\n  {\n    \"id\": 1,\n    \"name\": \"Leanne Graham\",\n    \"username\": \"Bret\",\n    \"email\": \"Sincere@april.biz\",\n    \"address\": {\n      \"street\": \"Kulas Light\",\n      \"suite\": \"Apt. 556\",\n      \"city\": \"Gwenborough\",\n      \"zipcode\": \"92998-3874\",\n      \"geo\": {\n        \"lat\": \"-37.3159\",\n        \"lng\": \"81.1496\"\n      }\n    },\n    \"phone\": \"1-770-736-8031 x5 ...
We can test that the mock server is setup properly by running below cURL:
curl -X GET 'http://localhost:1080/users'
Awesome! So with this we have a mock server setup and ready to be automated.
Swarming this API with locust
Locust is a distributed load testing tool and uses light weight processes for concurrent user load. Plus the tests are coded in python which gives us a great deal of flexibility while authoring them. To top it all of, Locust gives a nice Web UI that can be used to control this test and see useful stats. Read more about its features here
Installation and setup
To write your locust test, ensure you have either of these python versions: Python 2.7, 3.4, 3.5, and 3.6.
Install the module via pip:
pip install locustio
Writing the first locust test
To define a locust test we need to do some basic steps:
- Define the behavior as normal python functions decorated with
@task, inside any class which subclasses/inherits fromTaskSetclass in locust module. - Locust provides access to an HTTP client (wrapper over the popular requests module) via
self. Here get_users is hitting the API and expecting the response to be of status code 200 - Define a class which subclasses
HttpLocustand assign the behaviors totask_setthe variable with optionally specifying how long the user should wait before hitting the API concurrently
And voila! Once this is setup we are ready to kick off our load test.
To run a locust test, we can run the below command. Here -f is used to provide the path where the
test file resides and the host to be prepended in front of every request.
locust -f ./path/to/locustfile.py --host http://localhost:1080
Once you run this, You should see a log like below:
[2019-07-28 21:31:15,606] Gauravs-MacBook-Pro-2.local/INFO/locust.main: Starting web monitor at *:8089
[2019-07-28 21:31:15,606] Gauravs-MacBook-Pro-2.local/INFO/locust.main: Starting Locust 0.11.0
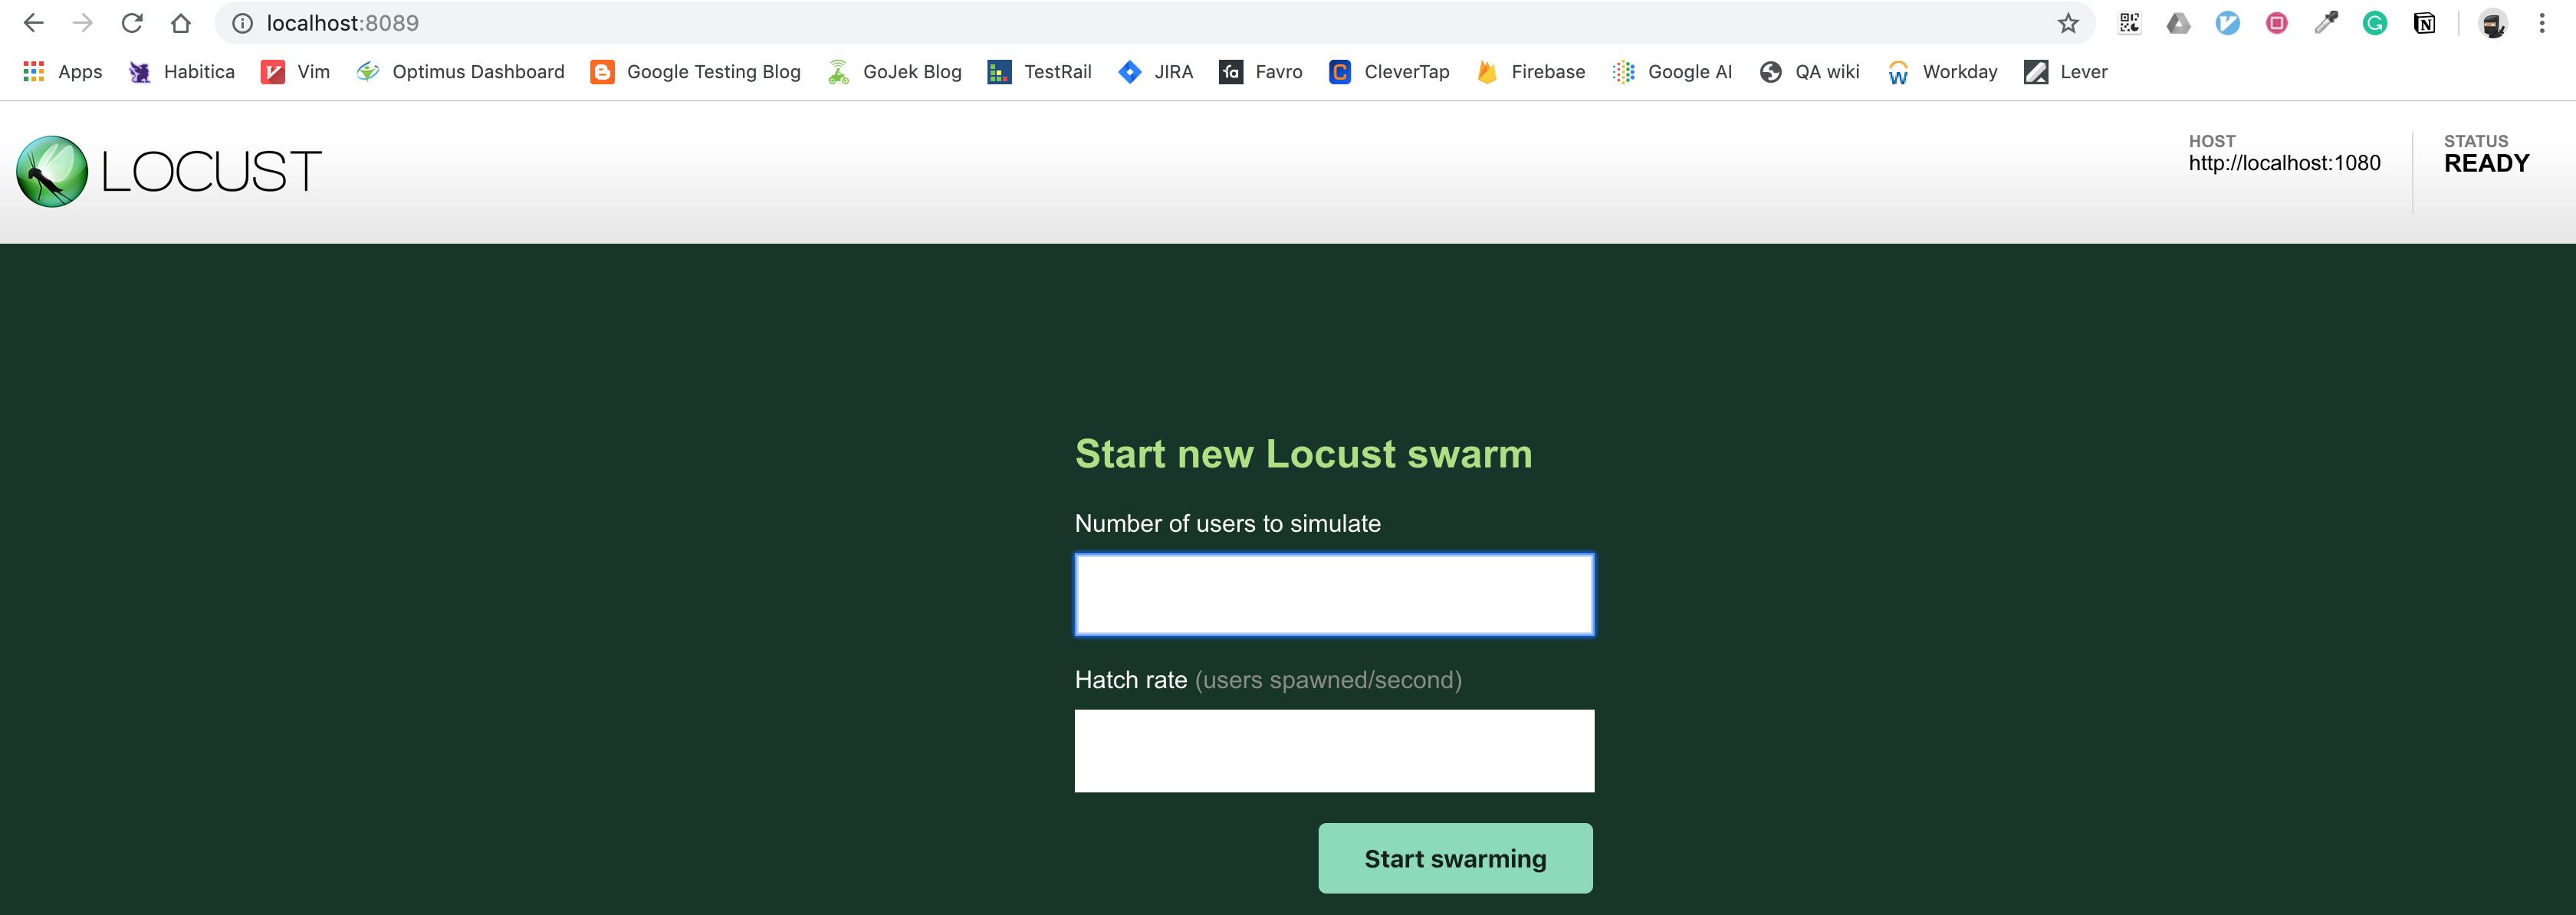
If you navigate to http://localhost:8089, You can see a nice Web UI like below:
Let’s say we want to simulate 1000 concurrent users with 500 users spawned per second.
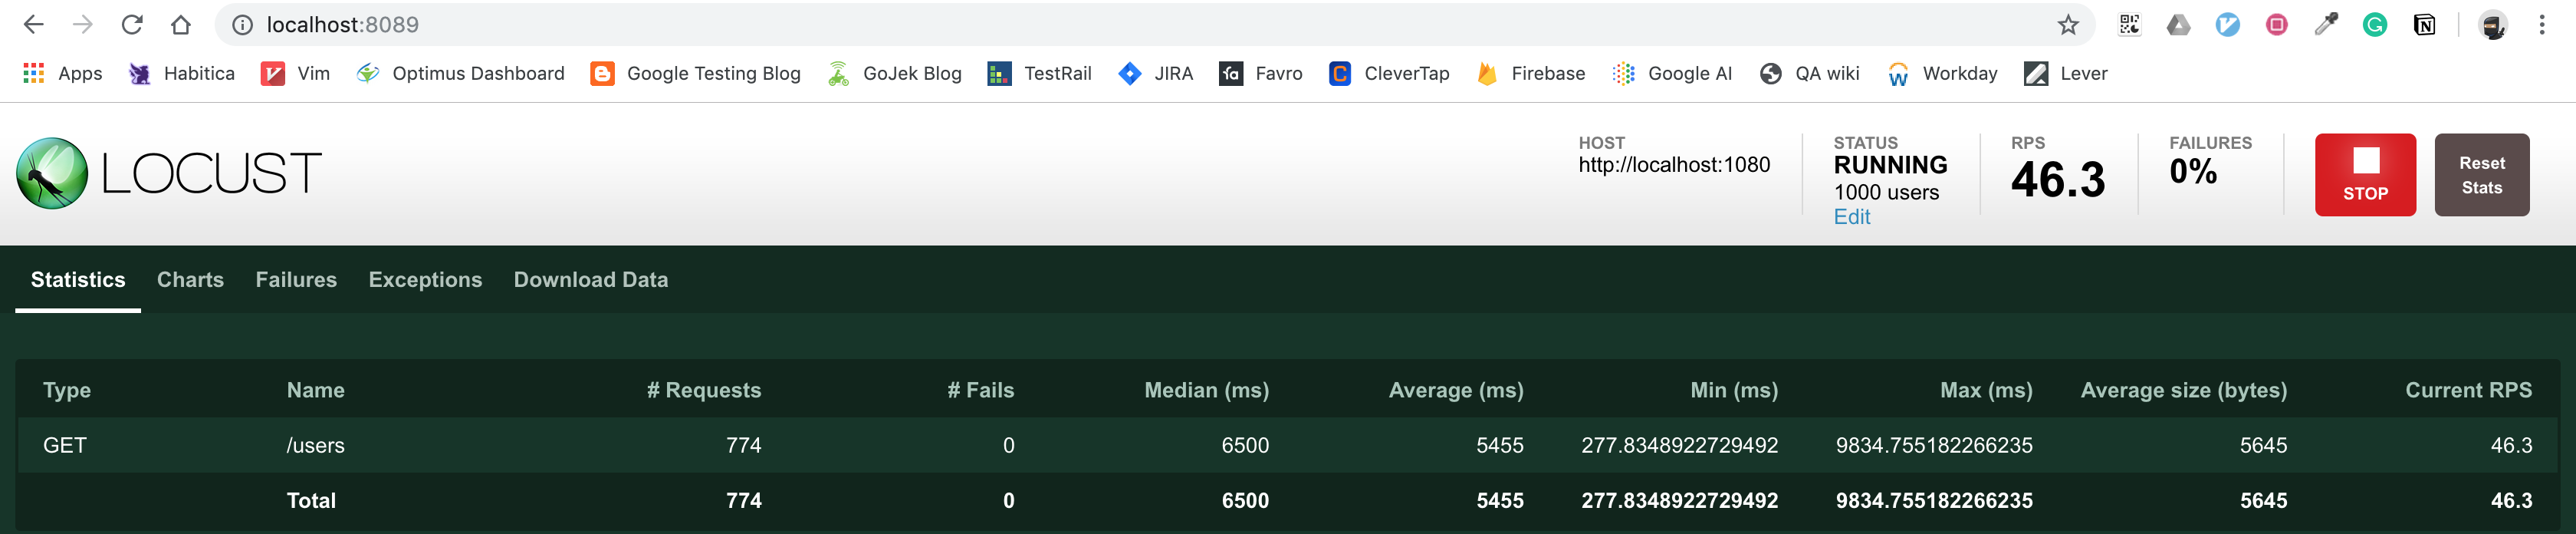
You can see statistics around every endpoint, how many requests made, what was the median response and even RPS.
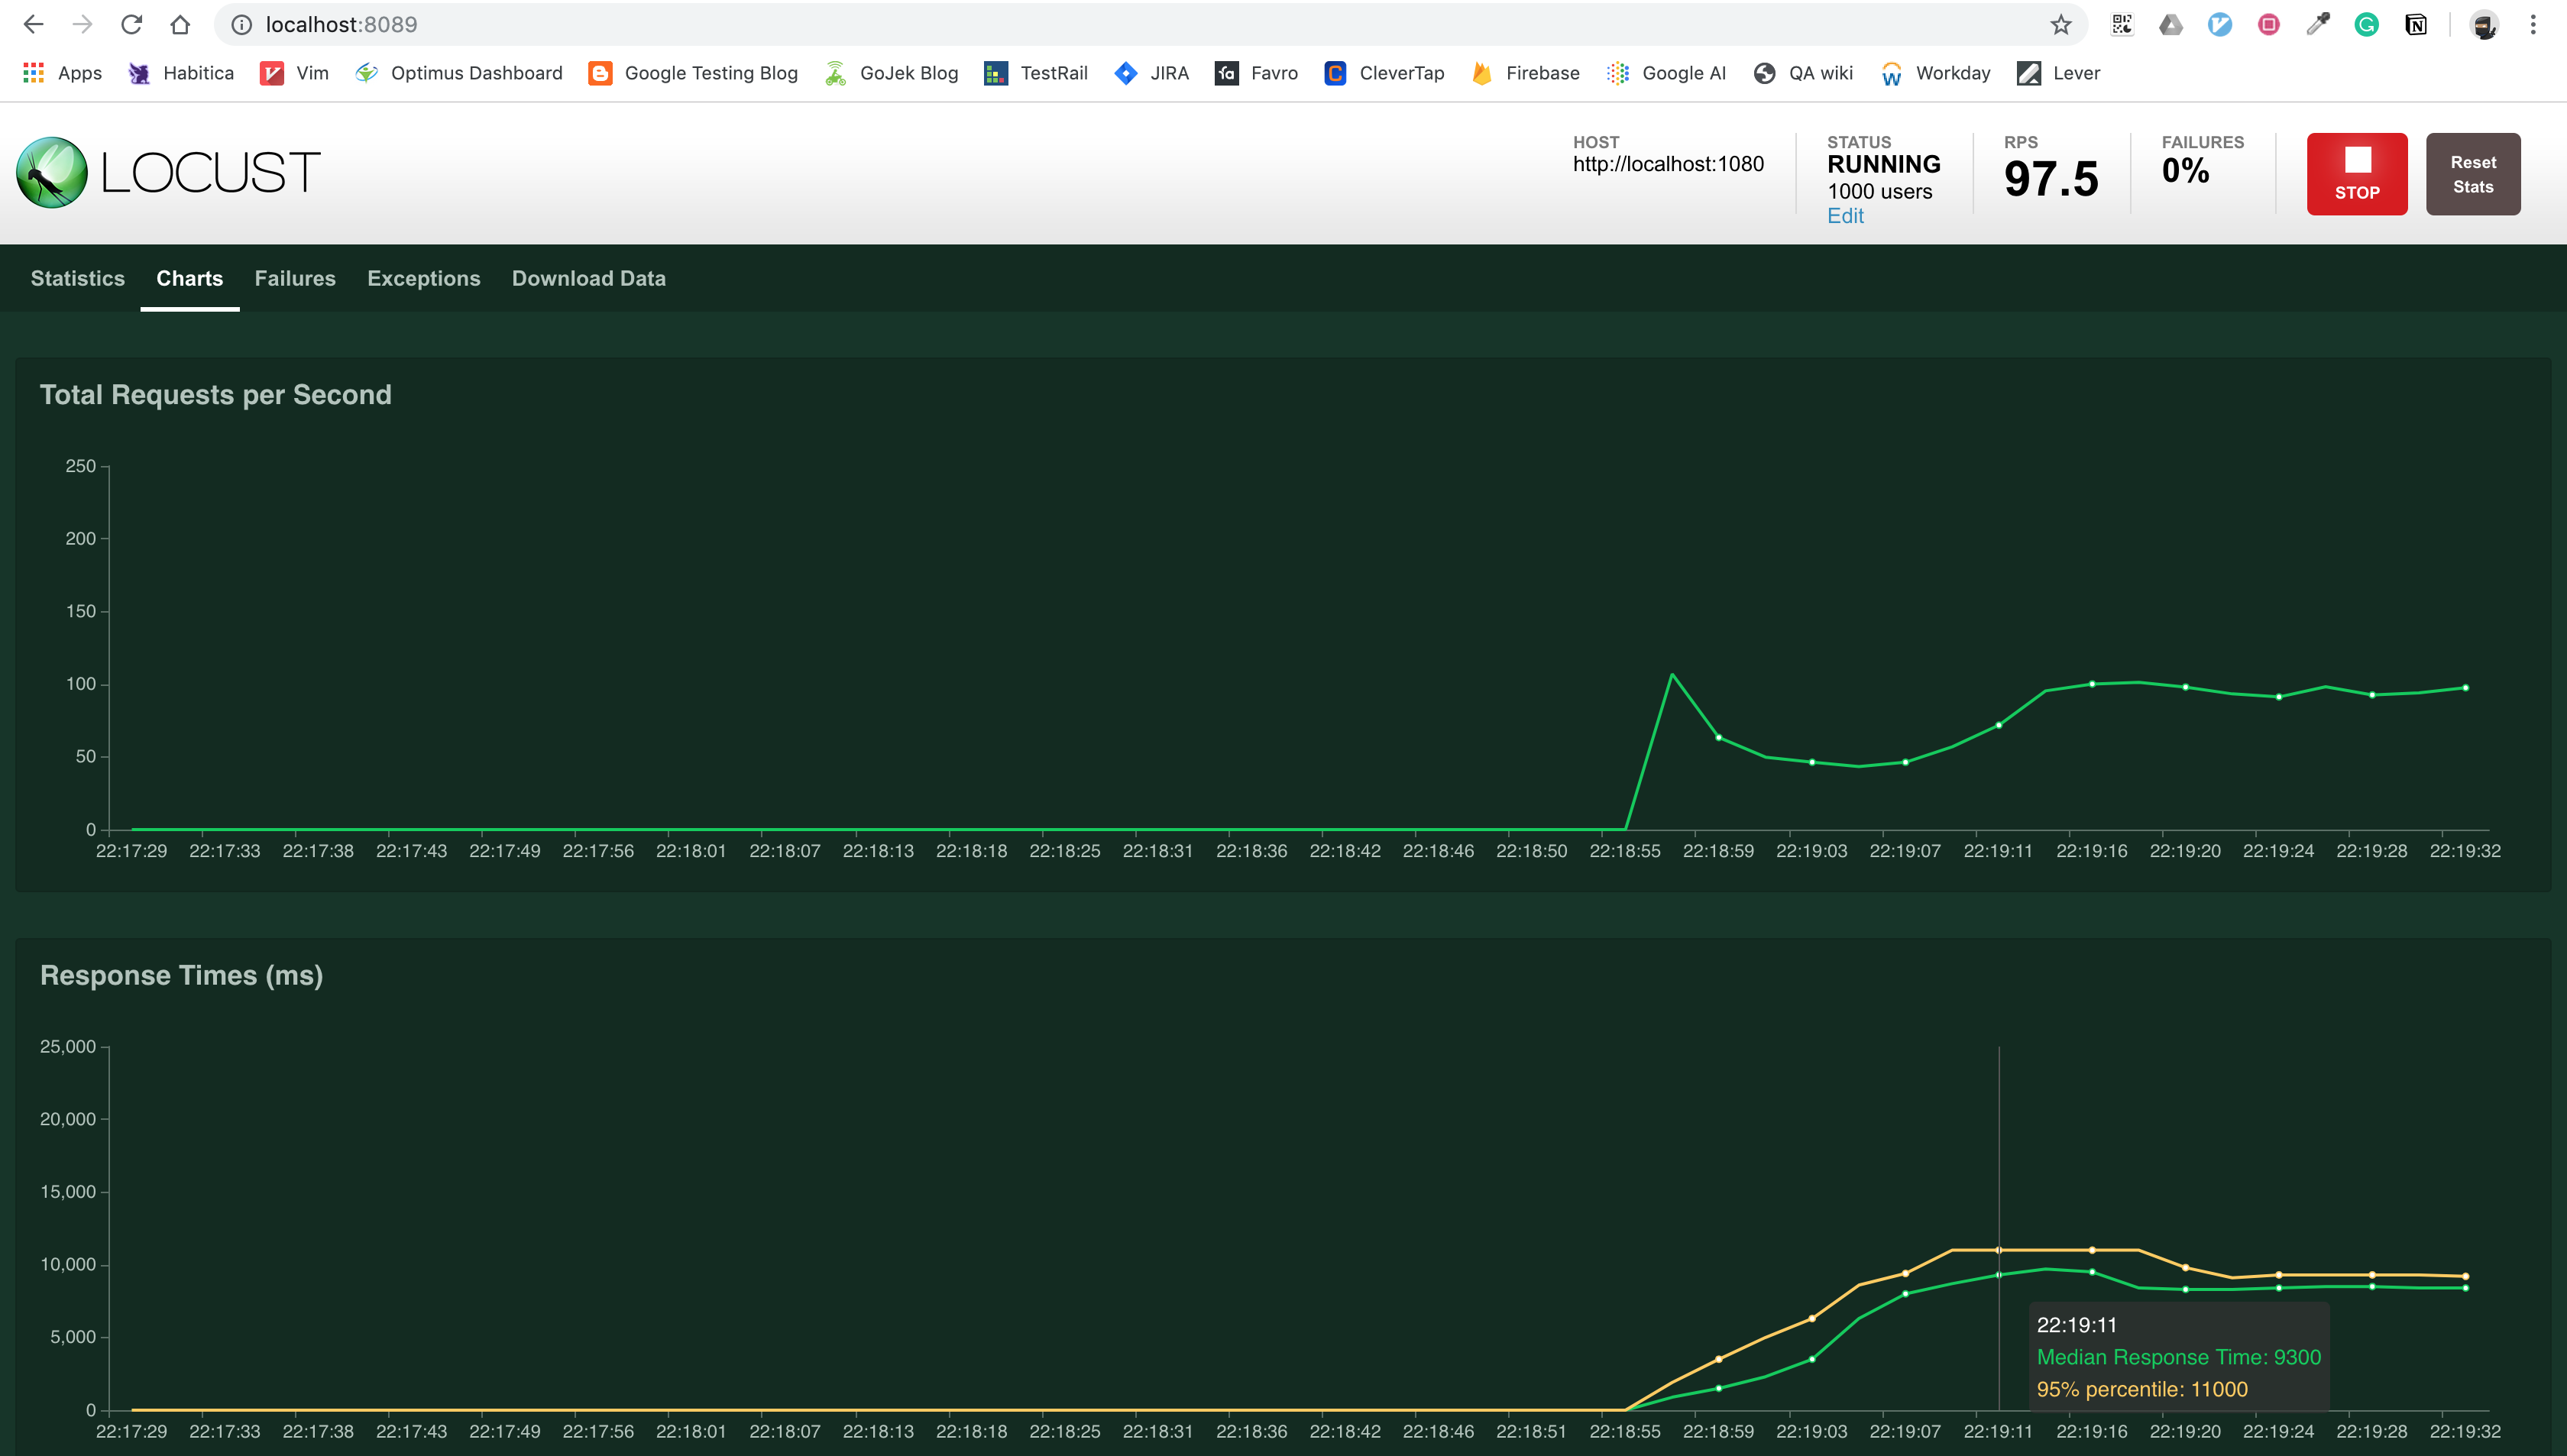
Locust is also smart enough to plot a graph with these stats and provide you an option to download this in a convenient CSV format.

Now, Also in case you want to run this test without the web UI all you need to do is append below flags:
--no-web -c 1000 -r 100
And also set up the test to run for desired duration:
--run-time 1h30m
So much of useful functionality available with so much ease. Locust was a breeze to work with and using this I was able to setup quick tests for the API under test and give devs the opportunity to monitor the simulated traffic via monitoring tools.
We did discover few issues around the responsiveness of the API, timeouts and overall our understanding of the limits of our API before production deploy was much better than if we had just relied on functional tests.
That’s it for this one. In case you found this useful, Do share with your friends or colleagues. Till next time! Cheers.
Comments